Documents
Using the Check Accessibility tool
Use the Check Accessibility tool to determine accessibility issues with your document and follow the prompts to fix issues. The Check Accessibility tool is located under File > Info > Check for Issues in Microsoft Word 2016 and under Review in Office 365.
Eight ways to create a more accessible Microsoft Word Document.
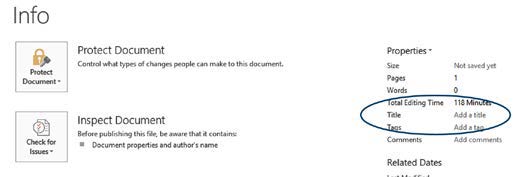
Add a Document Title
File Tab > Title field (at right of screen)
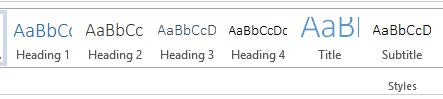
Use Word Heading Styles
When adding headings to a Word document, do not use regular paragraph text styled to look like a heading. Doing this will not provide semantic meaning to a screen reader. Instead, use the actual heading styles provided by Word.
Home Tab > Styles Group > Select “Heading 1”, “Heading 2”, “Heading 3”, etc.
Each Heading Style should match the logical heading structure of the document.
If you would rather use a style different than the default ones provided by Word, follow these steps:
- Write text and apply desired styling
- Highlight text and right click on the desired heading level in the toolbar
- Select the "Update Heading to Match Selection" option
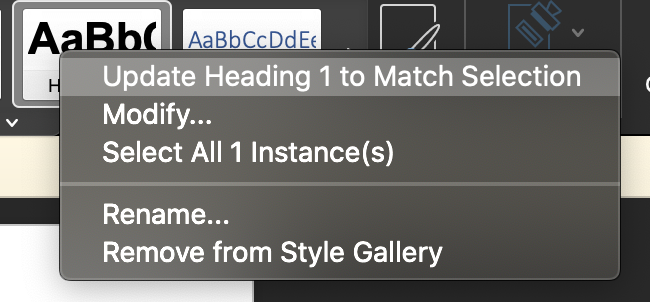
From that point forward, whenever you write new text and apply that heading level to it, that style will automatically be used. The same steps can be followed for any heading level. Always make sure that the heading is using a standard, easily readable font and good color contrast with the background.
Use Word List Structure
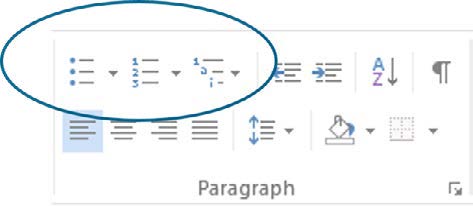
- Home Tab > Paragraph Group > Bullets (for bulleted list)
- Home Tab > Paragraph Group > Numbering (for basic numbered list)
- Home Tab > Paragraph Group > Multilevel list (for more complex numbered list)
Add Alternative Text to Meaningful Images and Figures
Alternative Text conveys the intended meaning of an image or figure. If an image is purely for decoration, either consider removing it from the document or choosing "Mark as decorative" checkbox when editing its alt text.
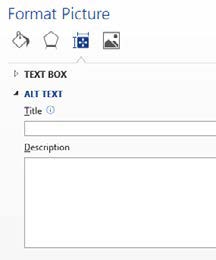
- Ensure that all of your image alignments are set to In line with text
- Right click image and select "Edit Alt Text..." from menu
- Type alternative text into Description field
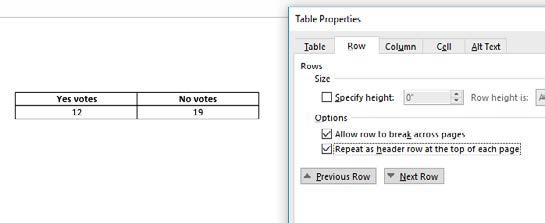
Identify Column Headers in Table Row
Select top row of table > Right click/Shift + F10 > Table Properties > Row tab > select “Repeat as header row at the top of each page” checkbox.
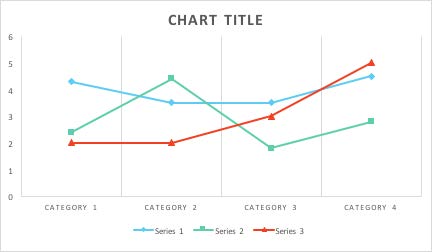
When Color Conveys Meaning, Use Color Plus Another Visual Cue
Use markers, text labels or different patterns for charts and graphs
1: Line graph with no markers
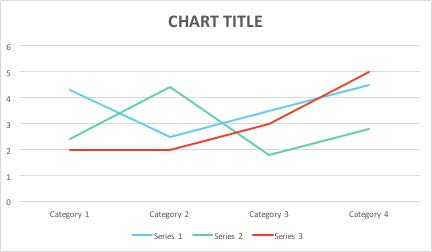
2: Line graph with markers
Use additional formatting for text, or a symbol such as an asterisk
An example of text formatting is when an input field on a form is required. Instead of only making the text for the field's label red, include an asterisk (and explain what the asterisk means before you use it for the first time) or explicitly add the word "(required)".
Use Good Color Contrast
Check that contrast between text and background colors is at least 4.5:1 for regular text and 3.0:1 for large text.
- The Paciello Group Colour Contrast Analyser is an app lets you easily check color contrast
- The WebAIM Contrast Checker is a great tool that works right in your browser
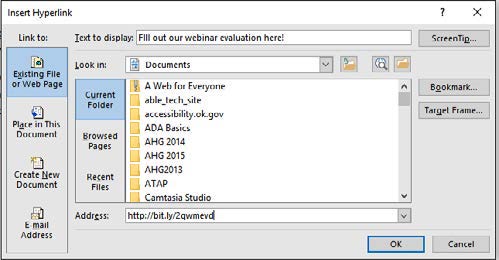
Use Descriptive Link Text
Make descriptive link text the active link in a document, and put the actual web address (URL) in plain text. This makes sure that people can use the link whether the document is digital or printed.
In the Insert Hyperlink window, “Text to display” is the descriptive link text and “Address” is the actual web address.
Avoid hitting Enter or Return after a heading to create extra space
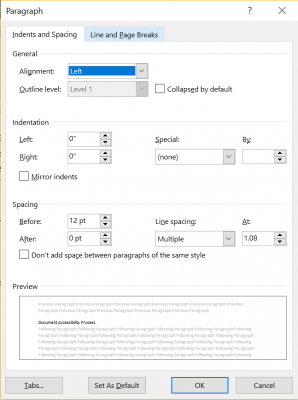
Hitting the Enter or Return key after a heading will give the visual appearance of a blank space but will be detected by assistive technologies as an empty heading element. This can be very confusing to assistive technology users. You should instead increase the spacing after the text.
- Highlight text after which you want the space
- Right-click on the highlighted text
- Click "Paragraph" in the menu that appears
- Increase the Spacing after the paragraph
- Click the OK button