Skip to main contentMicrosoft Teams
Captioning a Recorded Teams Meeting
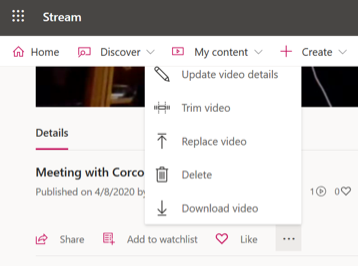
- Once your recording is complete, visit Streams and select the video you want to review.
- Select Update Video Details to edit the recording.
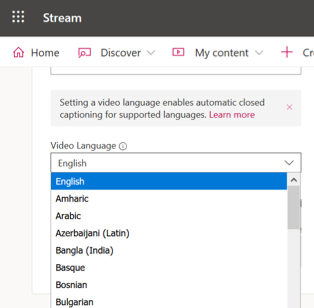
- From the Video Language dropdown, select the language spoken.
- Under Captions on the right side of the screen, check Autogenerate a Caption File.
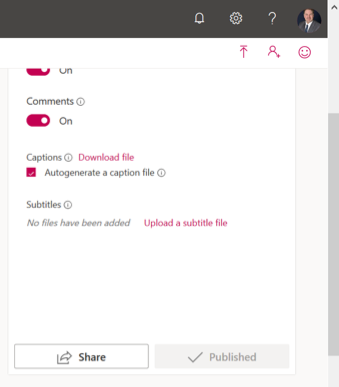
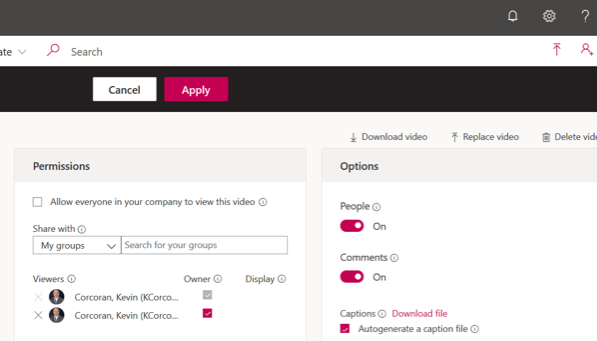
- At the top of the page, click Apply to save your settings.
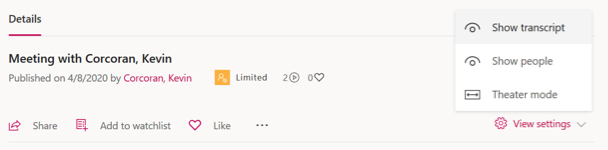
- To review your transcript, return to your video and click View Settings.
- Then click Show Transcript.
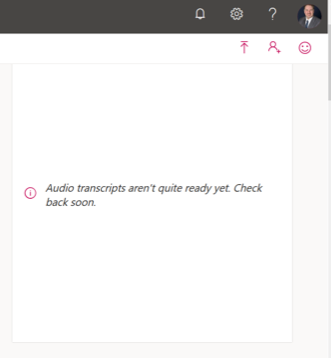
- If the system is still processing the transcript, you may receive the following message.
- Once complete, you will see a CC closed captioning option appear within your video playback options.
Resources and Further Reading