PDFs
Converting a Source Document to PDF
The best way to make an accessible PDF is to start with an accessible source document and convert that document to a tagged PDF (external link). Making a document accessible using Adobe Acrobat Pro is a more difficult and unreliable method.
Note: Though a PDF can be made more accessible using the tools provided by Adobe Acrobat Pro, the process itself is not accessible. Adobe needs to put more focus on this.
Making a PDF Accessible Using Adobe Acrobat
If you have access to LinkedIn Learning, the video courses for Creating Accessible PDFs (external link) and Advanced Accessible PDFs (external link) cover almost everything you need to know about creating accessible Word documents, PowerPoint presentations, and PDFs, and is highly recommended.
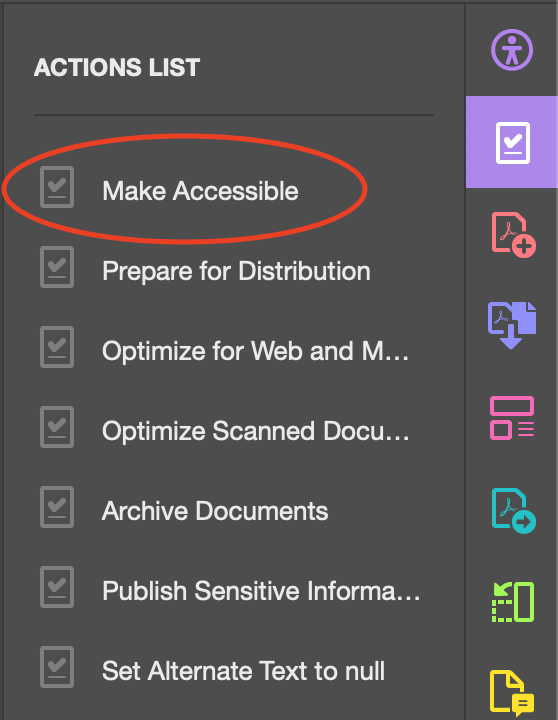
Run "Make Accessible" wizard
Starting the process by running the Action Wizard "Make Accessible" option is helpful, since it will walk you through some important steps in the process and alert you on whether or not the PDF currently has tags.
To begin, select Tools from the upper right corner, then select Action Wizard > Make Accessible from the sidebar. Select Start button.
- Add Document Description — Enter a descriptive page Title. Other fields are optional.
- Set Open Options — Runs automatically
- Recognize Text using OCR — If your PDF is not true text, it will be converted into true text during this step. If you are not sure if your PDF is true text, one easy test is to search for a word that you know occurs in the document. If no results are found, it needs to be converted to text.
- Detect Form Fields — Only necessary if your page contains fillable forms.
- Set Tab Order Property — Runs automatically
- Set Reading Language
- Add Tags to Document — PDF “tags” provide accessibility information to screen readers. If your document does not have tags they will be added during this step. You will need to check the quality of these tags later on.
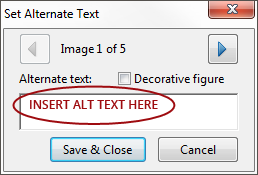
- Set Alternate Text — A window will appear that allows you to add alternative text. Use the arrows to move between images and check Decorative figure if the image should be ignored by a screen reader.
- Run Accessibility Full Check — This checker will show additional issues. Right click errors and warnings and select Fix to address the issues, Skip Rule if the issue has been addressed, and Explain to read online help.
Add or Change Tags
Just like valid HTML markup on a webpage, accurate tags in a PDF are vital to making sure it's accessible to screen readers and other assistive technologies. Without tags, a screen reader might not be able to detect any text in the document, and if it does, it will often be very confusing and difficult for the user to understand.
The Reading Order tool allows a user to quickly add and edit PDF tags and view the reading order of elements on the page. To edit tags, do the following.
- From the right-hand menu, select Tools.
- Then select Accessibility > Reading Order. If the Accessibility option is not listed, use the Options button to check Accessibility on the menu.
- When selected, the view on the screen changes. All of the content is enclosed in numbered boxes. Each of these boxes represents a tag and the number corresponds with the reading order in the Order panel.
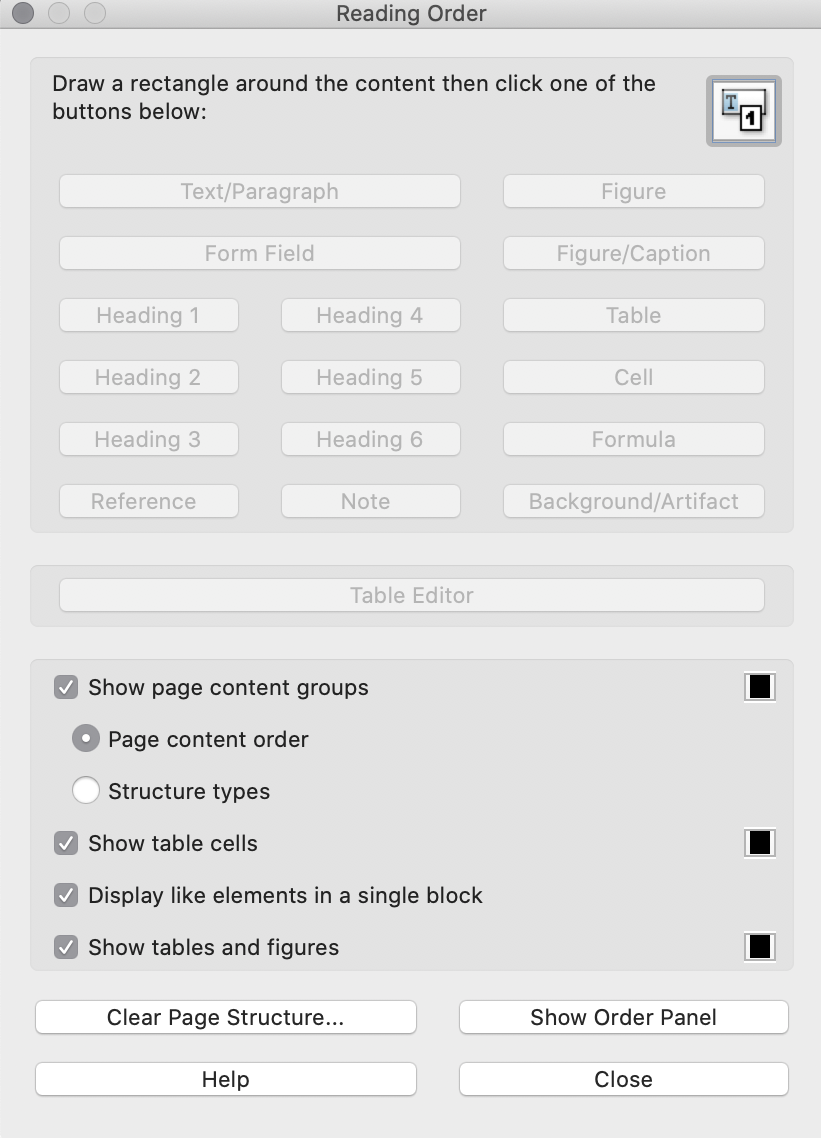
- Select the Structure Types radio button. The page will now display tag types instead of reading order.
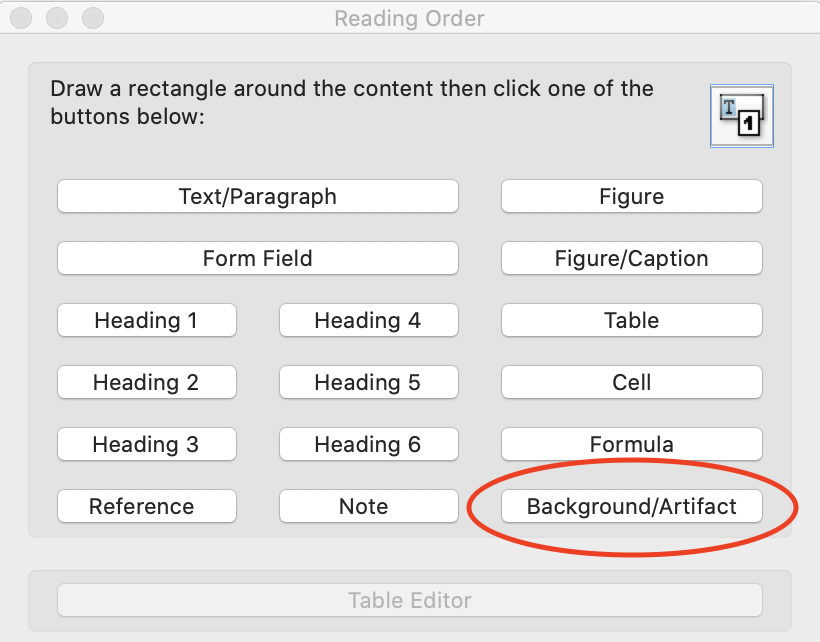
- Within the Reading Order window you will notice a group of buttons with the names of several common tags. You can use these buttons to assign tags to selected text or objects. Use the Text button for body text and the Heading 1-6 buttons to assign correct heading levels.
Check if a tag exists
Sometimes, you'll find that an element is visually present on the page but that a tag for that element does not exist. To check for a tag's existence:
- Highlight the text in the document that you suspect might not have a related tag
- Choose the Tags tool in the left sidebar
- Click the the Options button in the top left corner - the icon looks like a checklist with two options with a small upside down triangle next to it
- Choose the "Find Tag from Selection" option
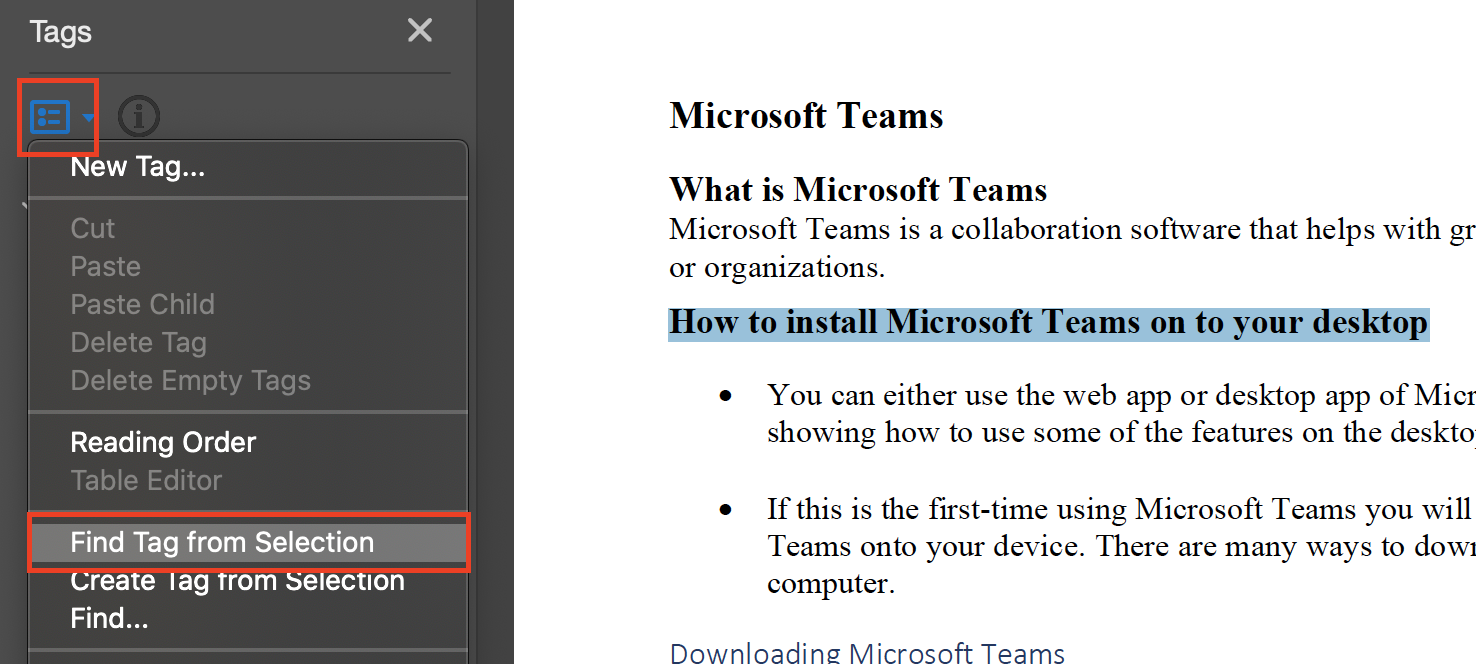
- If a popup appears with the content "The selection was not found.", a tag will need to be added for the highlighted content
Adding a New Tag
- In the Tags tool on the left side of the screen, right-click on the tag above where you want the new one to appear
- Choose the "New Tag..." option and select the correct type of tag to be added, then click the OK button.
- Highlight the content in the document that needs the new tag to be attached to it
- Back in the Tags tool, right-click on the new tag created and select the "Create Tag from Selection" option

You can also add/edit the following tags in the Reading Order tool:
Images and Alternative Text
Decorative images
- To tag a decorative image correctly, left-click on the white square with the number inside of it when a hand icon appears.
- When the buttons in the Reading Order window become enabled, click the "Background/Artifact" button.
Descriptive images
- Right-click on the white square with the number inside of it on the image you want to add alternative text to.
- Choose the "Edit Alternate Text..." option in the resulting menu.
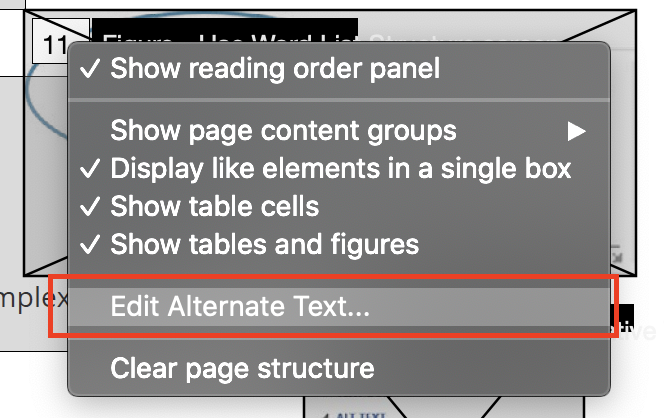
Table Headers
- Select a table and then select Table Inspector. Table header cells will be identified in red.
- Select a table or cell by dragging a box through the cells (not around them or you might select additional cells). Right click on a selected cell(s) and choose Table Cell Properties. A dialog box will appear.
- If the selected cell(s) needs to be tagged as a header, select the Header Cell option and assign a scope of either Row or Column.
View and Edit Reading Order
Reading order is one of the most important aspects of an accessible PDF. Assistive technology needs to be told in what order to read items on the page - it cannot determine the correct order based solely on the visual order of things. It makes the most sense to manually set the reading order based on how the content appears visually in the document.
- Select the Order tool in the left sidebar - the icon shows a grid of four squares with a line flowing from one square to the next
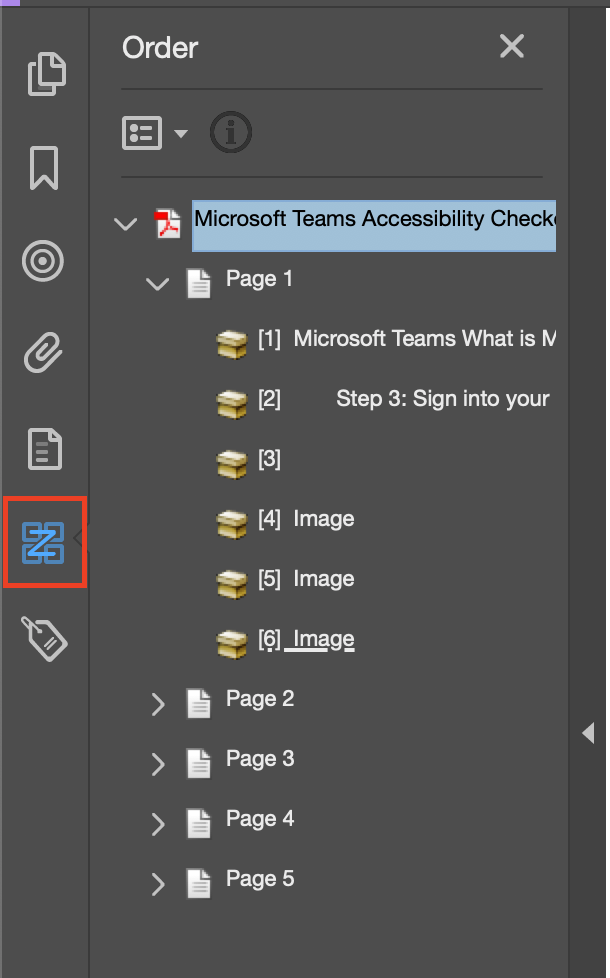
- Click and drag items to move them before or after other elements on the page to make them reflect the correct (visual) reading order
Sources and Further Reading
- Creating Accessible PDF Documents in Adobe Acrobat XI (external link) from The National Center on Disability and Access to Education
- UConn IT Accessibility PDFs page (external link)
- Add Alternate Text and Supplementary Information to Tags (external link)
- InDesign How-To: Work with Export Tags for Accessibility (YouTube video)