PowerPoint
Principles
- Ensure font size is sufficient. If your presentation will be viewed on a projector, font size may need to be even larger.
- Provide sufficient contrast. If your presentation will be viewed on a projector, sometimes the contrast needs to be even more pronounced.
- Do not use color as the only way to convey meaning.
- Avoid automatic slide transitions.
- Use simple slide transitions when possible.
- Do not put accessibility information like alternative text in the Notes pane.
- If you have embedded video, ensure it is captioned.
- If you have embedded audio, include a transcript.
- If your slides contain animations, ensure they are brief and do not distract from the most important content on the page.
- Use simple language.
Slide Layouts
Use slide layouts provided within PowerPoint to ensure files have correctly structured headings and lists, and proper reading order.
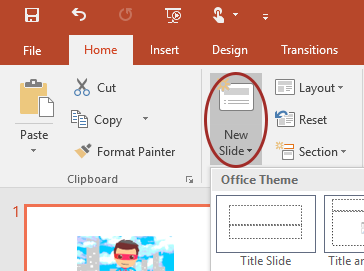
- Select Home > New Slide, then choose a layout from the dropdown.
- To change a slide layout, select Home > Layout, then choose a layout from the dropdown.
Reading Order
If you Insert other content (e.g, a text box) it will be read by a screen reader in the order it is added to the page. It is important to keep this in mind whenever anything is added to a slide, since the visual reading order will not match the order read by assistive technologies until it is adjusted manually.
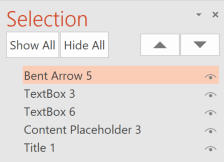
To check or fix reading order, select Home > Arrange > Selection Pane. Reading order is shown in reverse, bottom to top. Click and drag or use the arrow buttons to change reading order.
Alternative Text
Images should be given appropriate alternative text (external link) in PowerPoint. This Alt text is read by a screen reader in a PowerPoint file and should remain intact when exporting to HTML or a tagged PDF.
- Right-click on the image and choose Format Picture.
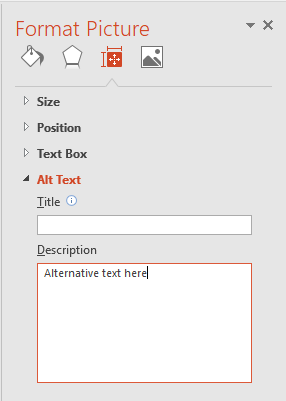
- Select the Size & Properties icon and choose Alt Text.
- Enter appropriate Alt text only in the Description field (not the Title field).
Alternatively, double-click on the image and the Alt Text option will appear in the Picture Format toolbar at the top of the application.
Data Tables
Accessible tables need a clear table structure and table headers to help guide a screen reader user.
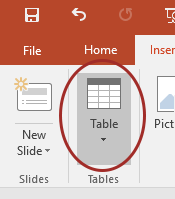
- Select the Insert tab on the ribbon, then select Table > Insert Table.
- Keep tables simple. Complex tables - such as those with cells spanning multiple columns or rows or with headers for both columns and rows - should not be created in PowerPoint.
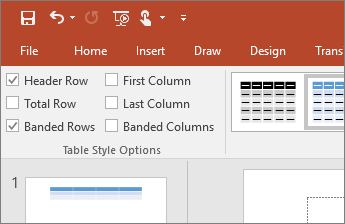
- Position the cursor anywhere in a table.
- Select the Design tab.
- In the Table Style Options, select the Header Row check box.
- In the table, type the column headings.
Hyperlinks
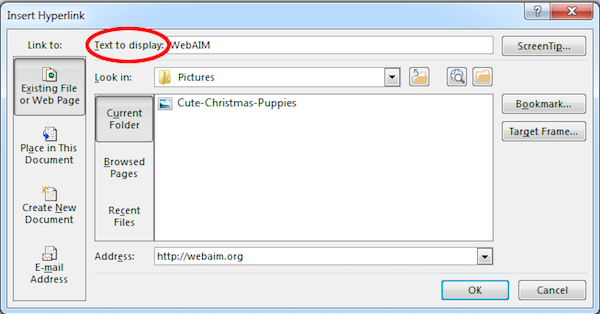
PowerPoint automatically creates a hyperlink when a user pastes a full URL onto a slide and presses Enter or Space. These may not make sense to screen reader users or others, so make the link text descriptive.
- Select a hyperlink, right click, and select Edit Hyperlink or hit Ctrl/Cmd + k.
- Change the text in the Text to Display field to a more meaningful description.
Accessibility Checker
Most Microsoft Office products have an Accessibility Checker. It is always a good idea to use it throughout the process of creating a document, and of course at the end of the process before uploading it to the learning management system.
On a Mac, select the Review tab in the toolbar and you will see the Check Accessibility option.

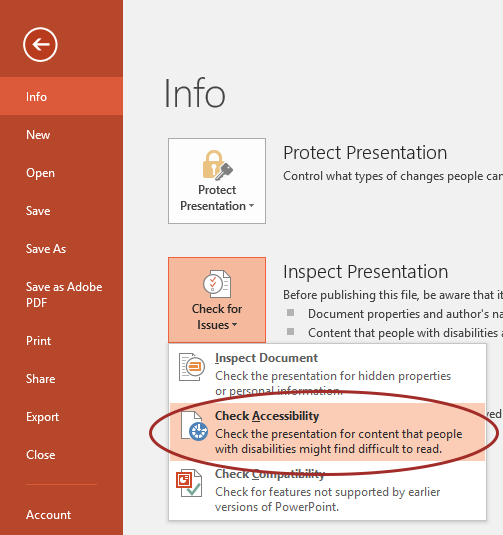
On a PC, follow these instructions:
- Select File > Info.
- Select the Check for Issues button and choose Check Accessibility.
- The Accessibility Checker task pane will show accessibility errors, warnings, and tips on how to repair the errors.
Select specific issues to see Additional Information at the bottom of the pane.
Sources and Further Reading
- Creating Accessible Microsoft PowerPoint 2016 Presentations (Windows) (external link) from National Center on Disability and Access to Education
- Creating Accessible Microsoft PowerPoint 2016 Presentations (Mac) (external link) from National Center on Disability and Access to Education
- Make your PowerPoint presentations accessible to people with disabilities (external link) from Microsoft
- PowerPoint Accessibility (external link) from WebAIM
- Microsoft PowerPoint Accessibility Quick Reference (PDF) from AT3 Center